
Sending a Device Command
This guide assumes familiarity with the following information:
- The basics of using the editor (Using Bixby Home Studio)
In this guide, you'll learn how to create a simple action flow to send a SmartThings command using two nodes. The device used in this guide is a SmartThings-enabled light bulb.
About the Action Flow
An action flow is a graph containing different types of nodes connected by execution and data paths. By associating a voice intent with an action flow, you specify the behavior the device should exhibit for that voice intent.
Action flows are the most important feature of Bixby Home Studio (BHS). They let you model the behavior of a device in response to a voice command in a visual, intuitive, and hands-on manner.
Start Node
Every action flow begins with a Start node. The Start node gets triggered when the user gives Bixby a command.
Begin by dragging the Start node from the action flow nodes sidebar on the left onto the editor area.
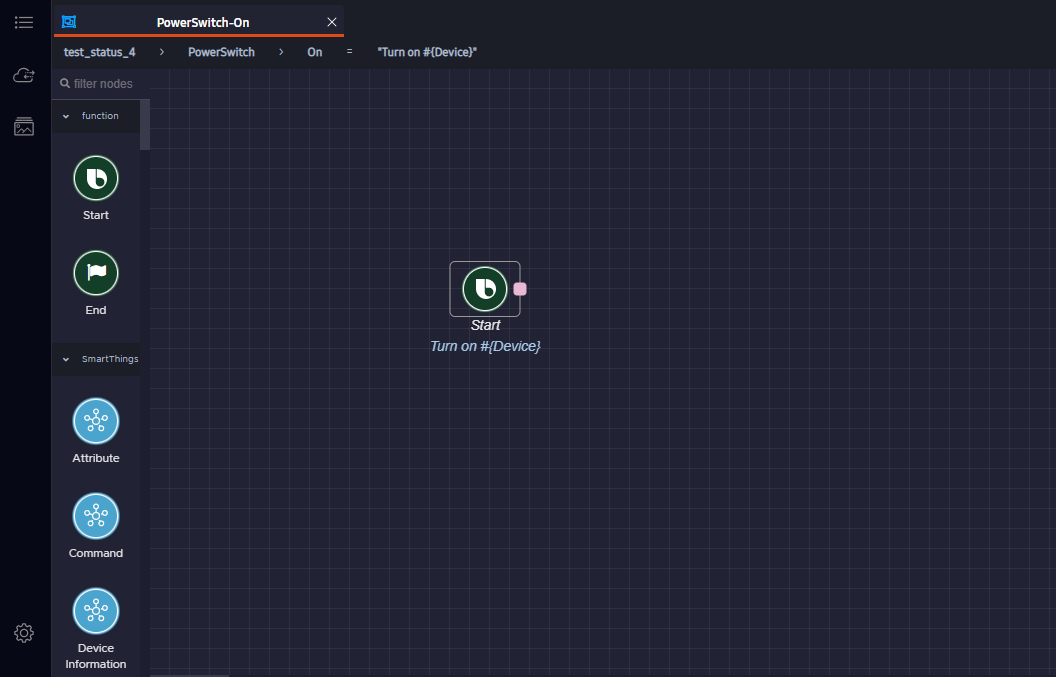
You have the start of an action flow that consists of the Start node. However, after a user command triggers the Start node, nothing happens. To get a response based on the voice intent, you need to add nodes to the flow that perform actions when triggered.
Send a Command
You can make the Start node trigger another node by connecting the two nodes, creating an execution path. In the example below, the intended action is to switch on a light. So, you have to add a node that sends the relevant command to the device.
To do this, drag a Command node to the flow editor area:
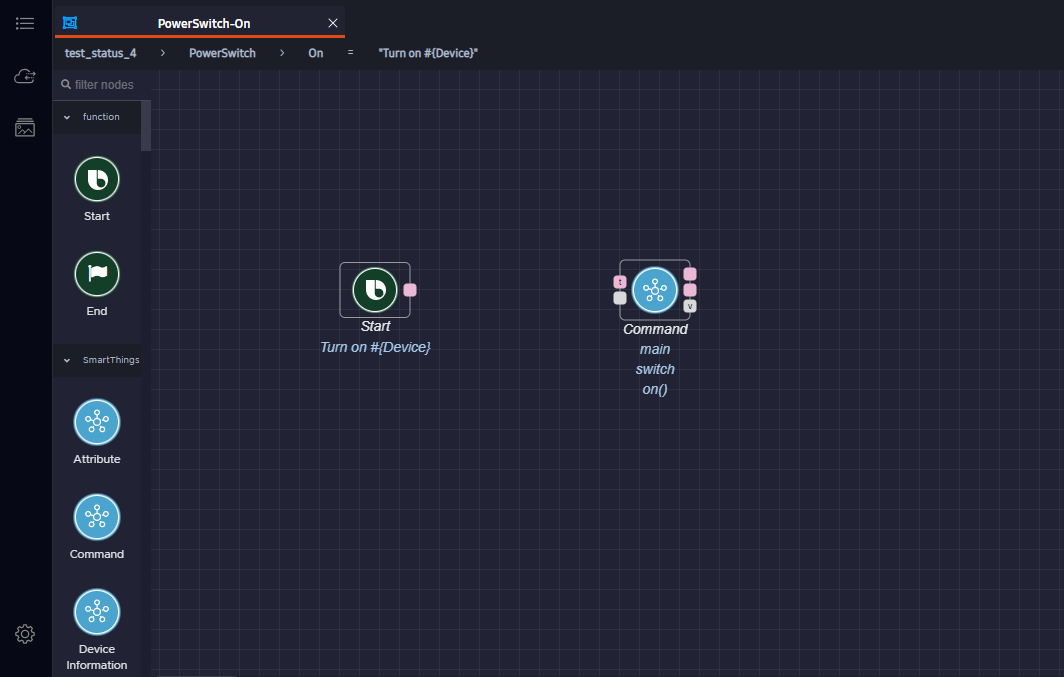
A Command node is used to send a command to a SmartThings device. The Start node you added earlier triggers the Command node.
Execution Path
For a node to trigger another node, you connect the output trigger port of the first node to the input trigger port of the second one. By doing so, you specify that when the first node finishes processing, it should trigger the second node.
Connect the output trigger port of the Start node to the input trigger port of the Command node. You can do this by clicking on the output trigger port of the Start node and then dragging the path line until it connects to the input trigger port of the Command node.
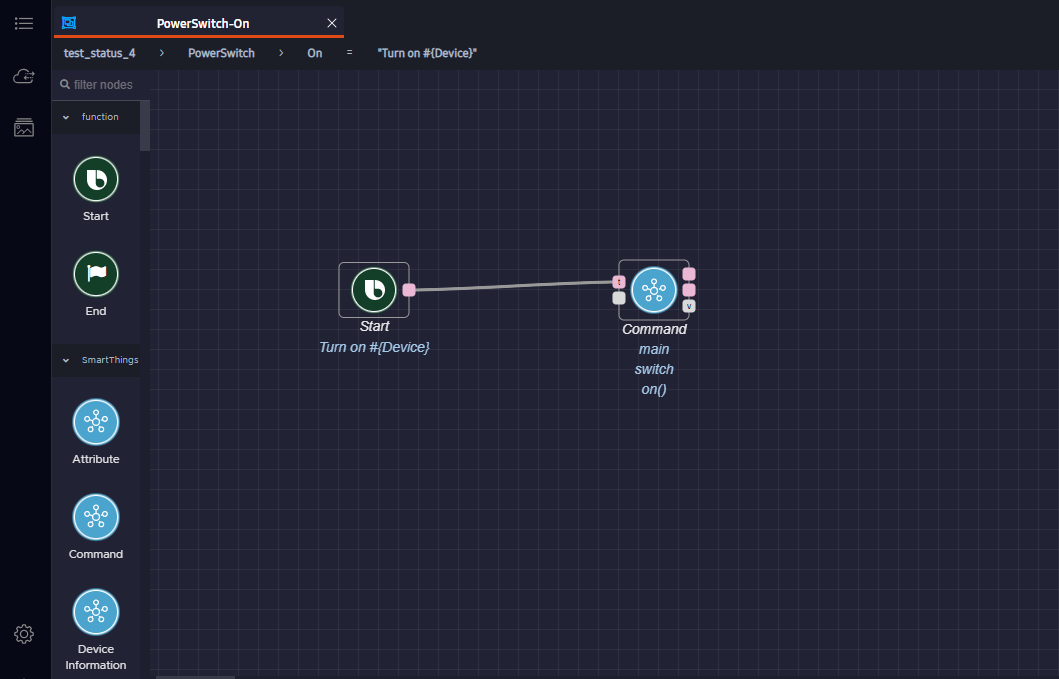
This path allows the control or execution of the flow to pass from one node to another, forming an execution path. The execution path from the Start node to the Command node ensures that the Command node gets triggered after the Start node gets processed.
Configure the Command Node
You have now connected the Start node to the Command node, but haven't set the command to execute when the Command node is triggered.
To do this, click on the Command node to select it. This expands a Node Configuration window on the right:
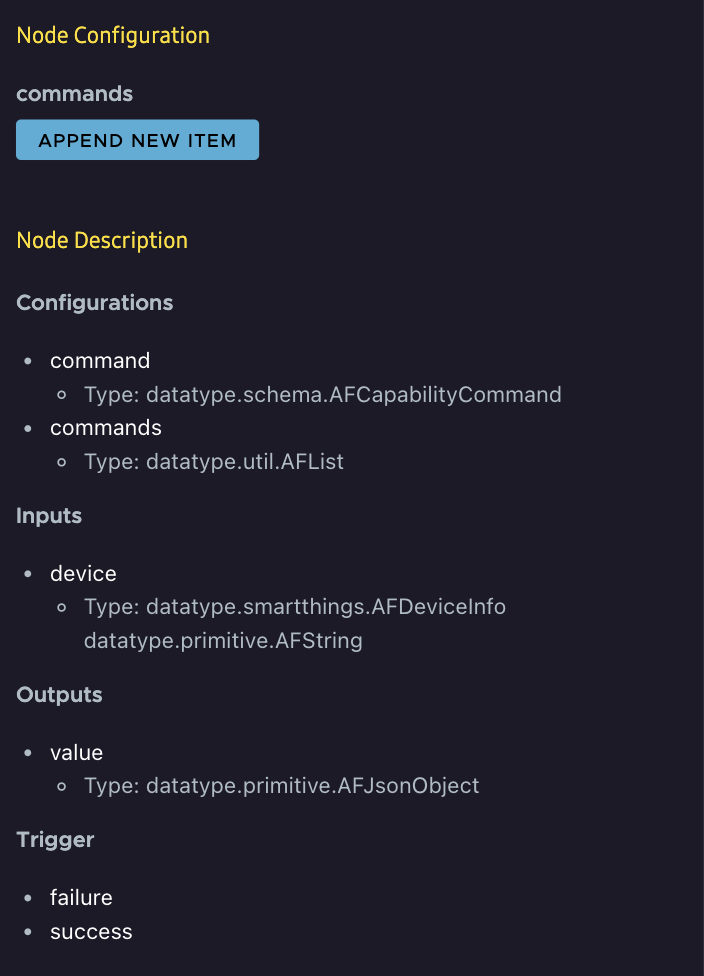
Click APPEND NEW ITEM to open the Node Configuration menu:
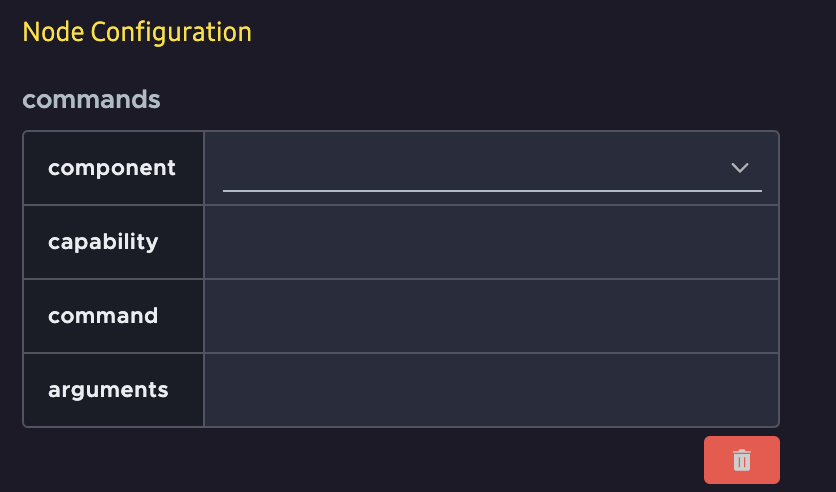
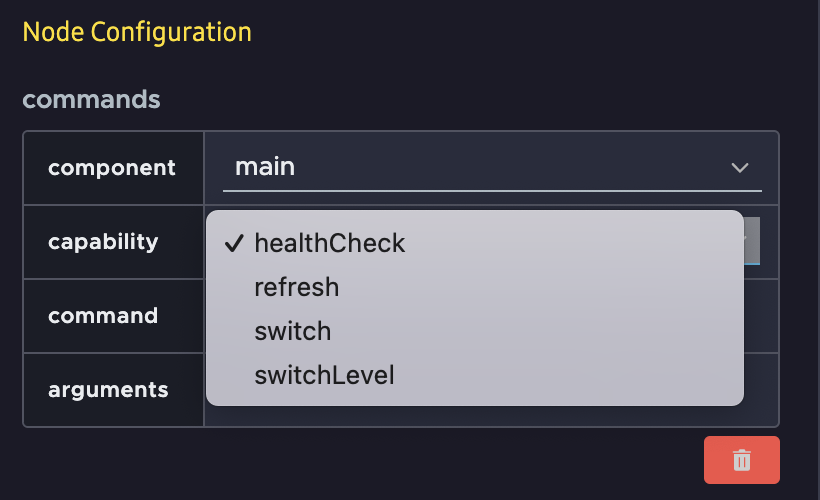
Select the component using the menu. For this example, select the switch capability.
Most devices have only one operating section or compartment. In this case, the only option for component is main. If a device has many sections or compartments that you can operate independently, there will be multiple component options, such as top, bottom, and middle.
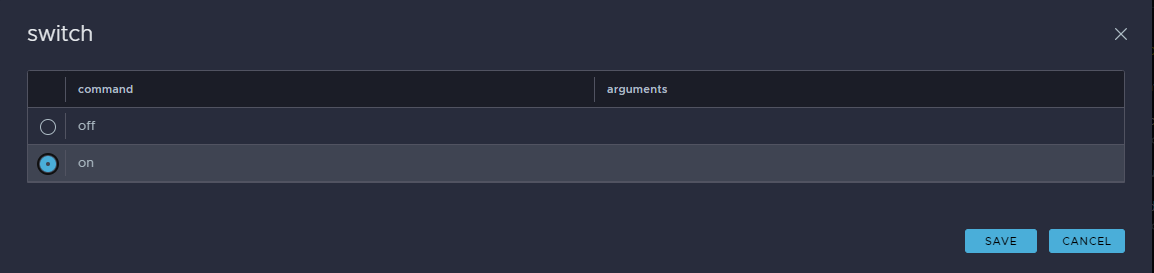
This opens a window showing the available commands for the switch capability. Select the required command, in this case on, and click SAVE. You don't need to enter arguments in the Node Configuration menu. To learn more about arguments, read the Sending a Device Command with an Argument guide.
You've now created an action flow that sends a switch on command to a light.
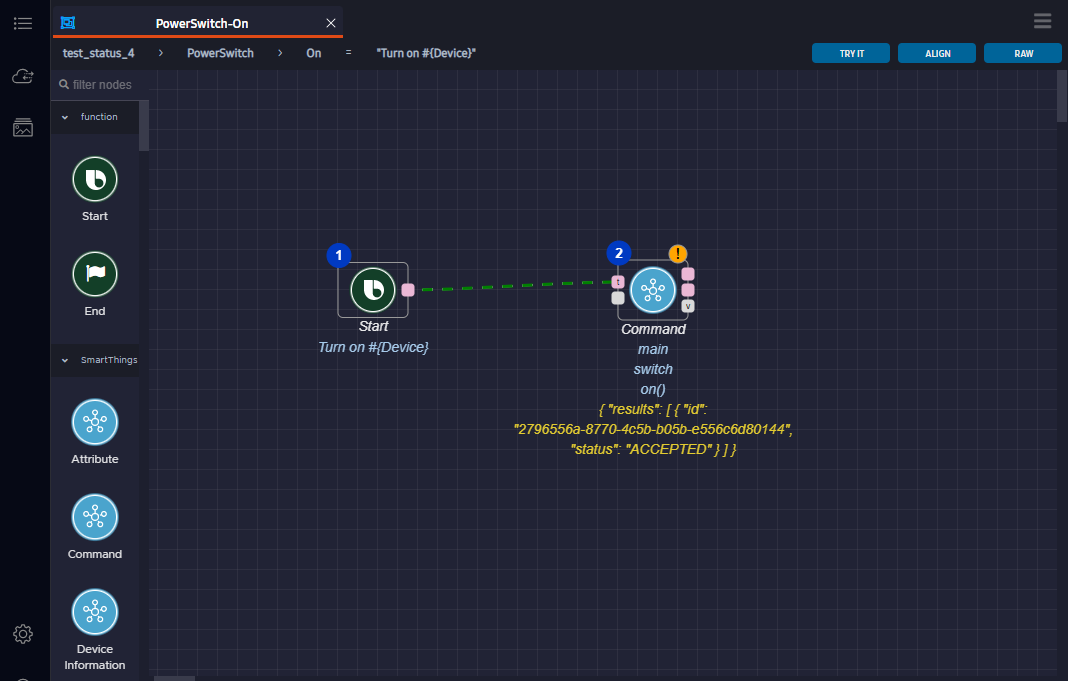
The editor also has the "Try It" feature, to test the action flow on a real device. You can do this without uttering voice commands. Click TRY IT in the menu bar at the top right.

The device should now be switched on. A dashed green flowing line will highlight the execution path. Any obtained values or responses will appear below the corresponding nodes.
Great! You've successfully created and tested an action flow for a voice intent. You can also add action flows for voice intents that you want to include in your voice metadata.
Additional Resources
The Node Recommendation feature enables you to get recommendations for next possible nodes, and can make it easier to create a graph.
You can also make more complex graphs by using subgraphs.
For additional examples, see the "Set the Brightness of the Device" Sample Graph and the "Play the Next Song on the Device" Sample Graph.